An End-to-End Guide to Understanding the Nuances of 3D Architectural Visualization
Architectural 3D Rendering is a term that’s used a lot in architectural and real estate circles, and if you’re wondering what it is all about, you’re at the right place! This guide will help to demystify the jargon associated with 3D visualization and imagery. You will get some real information on what exactly this term encompasses, and how it can be used to advantage in 2020.
This article shall cover the following areas:
- What is 3D Rendering?
- What is needed to create a 3D Rendering of any object
- Types of Renderings for Real Estate Marketing
- Typical Inputs required for 3D renderings
- How it Works – Process Flow
- Software used for Architectural Renderings
- Prevalent pricing structures in 3D Rendering domain
- Where are 3D Renderings used
Let’s get started right away!
What is 3D Rendering?
3D Rendering is a process by which a photo-realistic image is created using computer software programs. A 3D Rendered Image is a photorealistic output depicting a number of elements, such as the 3D shape, materials and texture, lighting conditions, and the surrounding environment. Rendering is a creative process that is quite similar to photography, as it involves lighting and staging scenes to produce images; however, it differs from photography in that the images being created do not as yet exist in real life!
It’s rightly said that a picture can speak a thousand words! 3D Visualization and Visual Imagery can be used to advantage in the building industry to create Architectural 3D Rendering and Interior Renderings, 3D Floor Plans, Product Renders and Walkthroughs, among other services that add value to designers and Real Estate marketers.
What is needed to create an Architectural 3D Rendering of any object?
To create a 3D image, the following are needed.
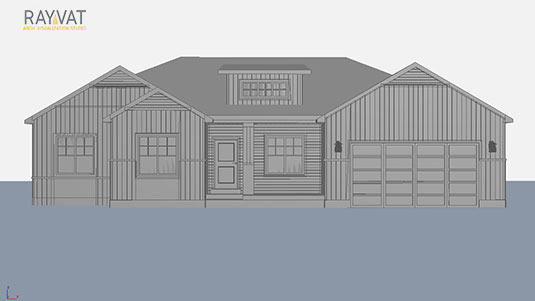
1. A 3D Model: This can be created by the artist using the 2D drawings, references, and other inputs that are provided by you.
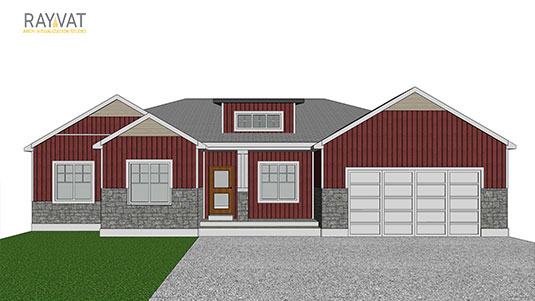
2. Textures and Material Specifications: The information about texture and specifications of materials, colors, etc that will be used to create the final image.
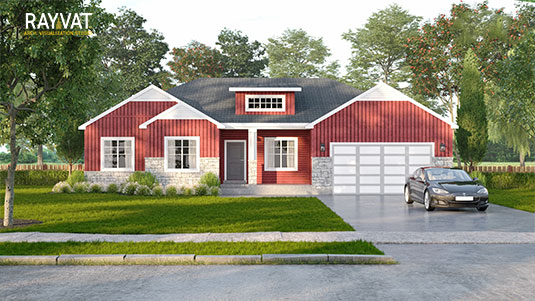
3. Lighting / Environment: Surroundings of the building or object that you are creating the 3D rendering of. The environment can be the natural surroundings or can be imaginary.
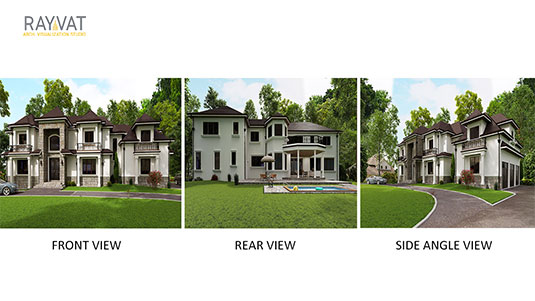
4. Camera Position: In a 3D image, the camera is virtual and the camera angle and position determine the basis on which the image is created.
Types of Renderings for Real Estate Marketing
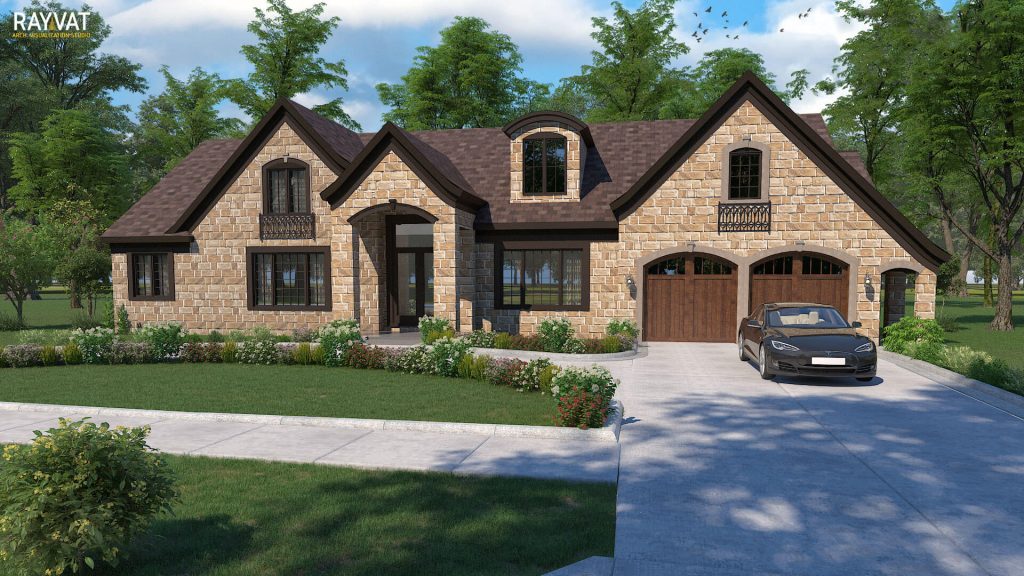
3D Exterior Renderings – A 3D Exterior render showcases the exterior façade of the property and its surroundings. You can either choose to focus only on the building view, or you can opt for a render that shows the building in the context of its surrounding neighborhood and features, like the garden, roads, and so on.
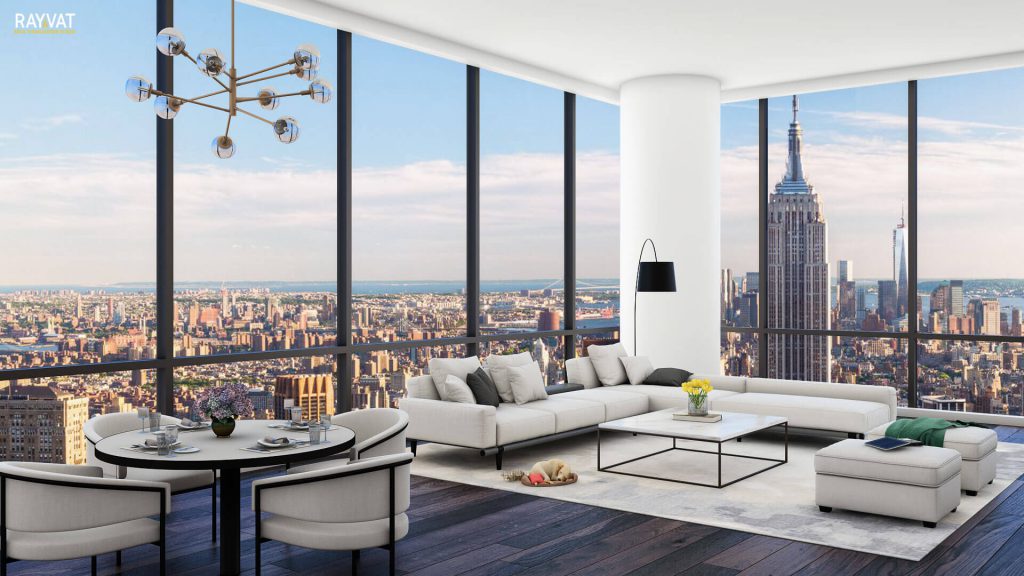
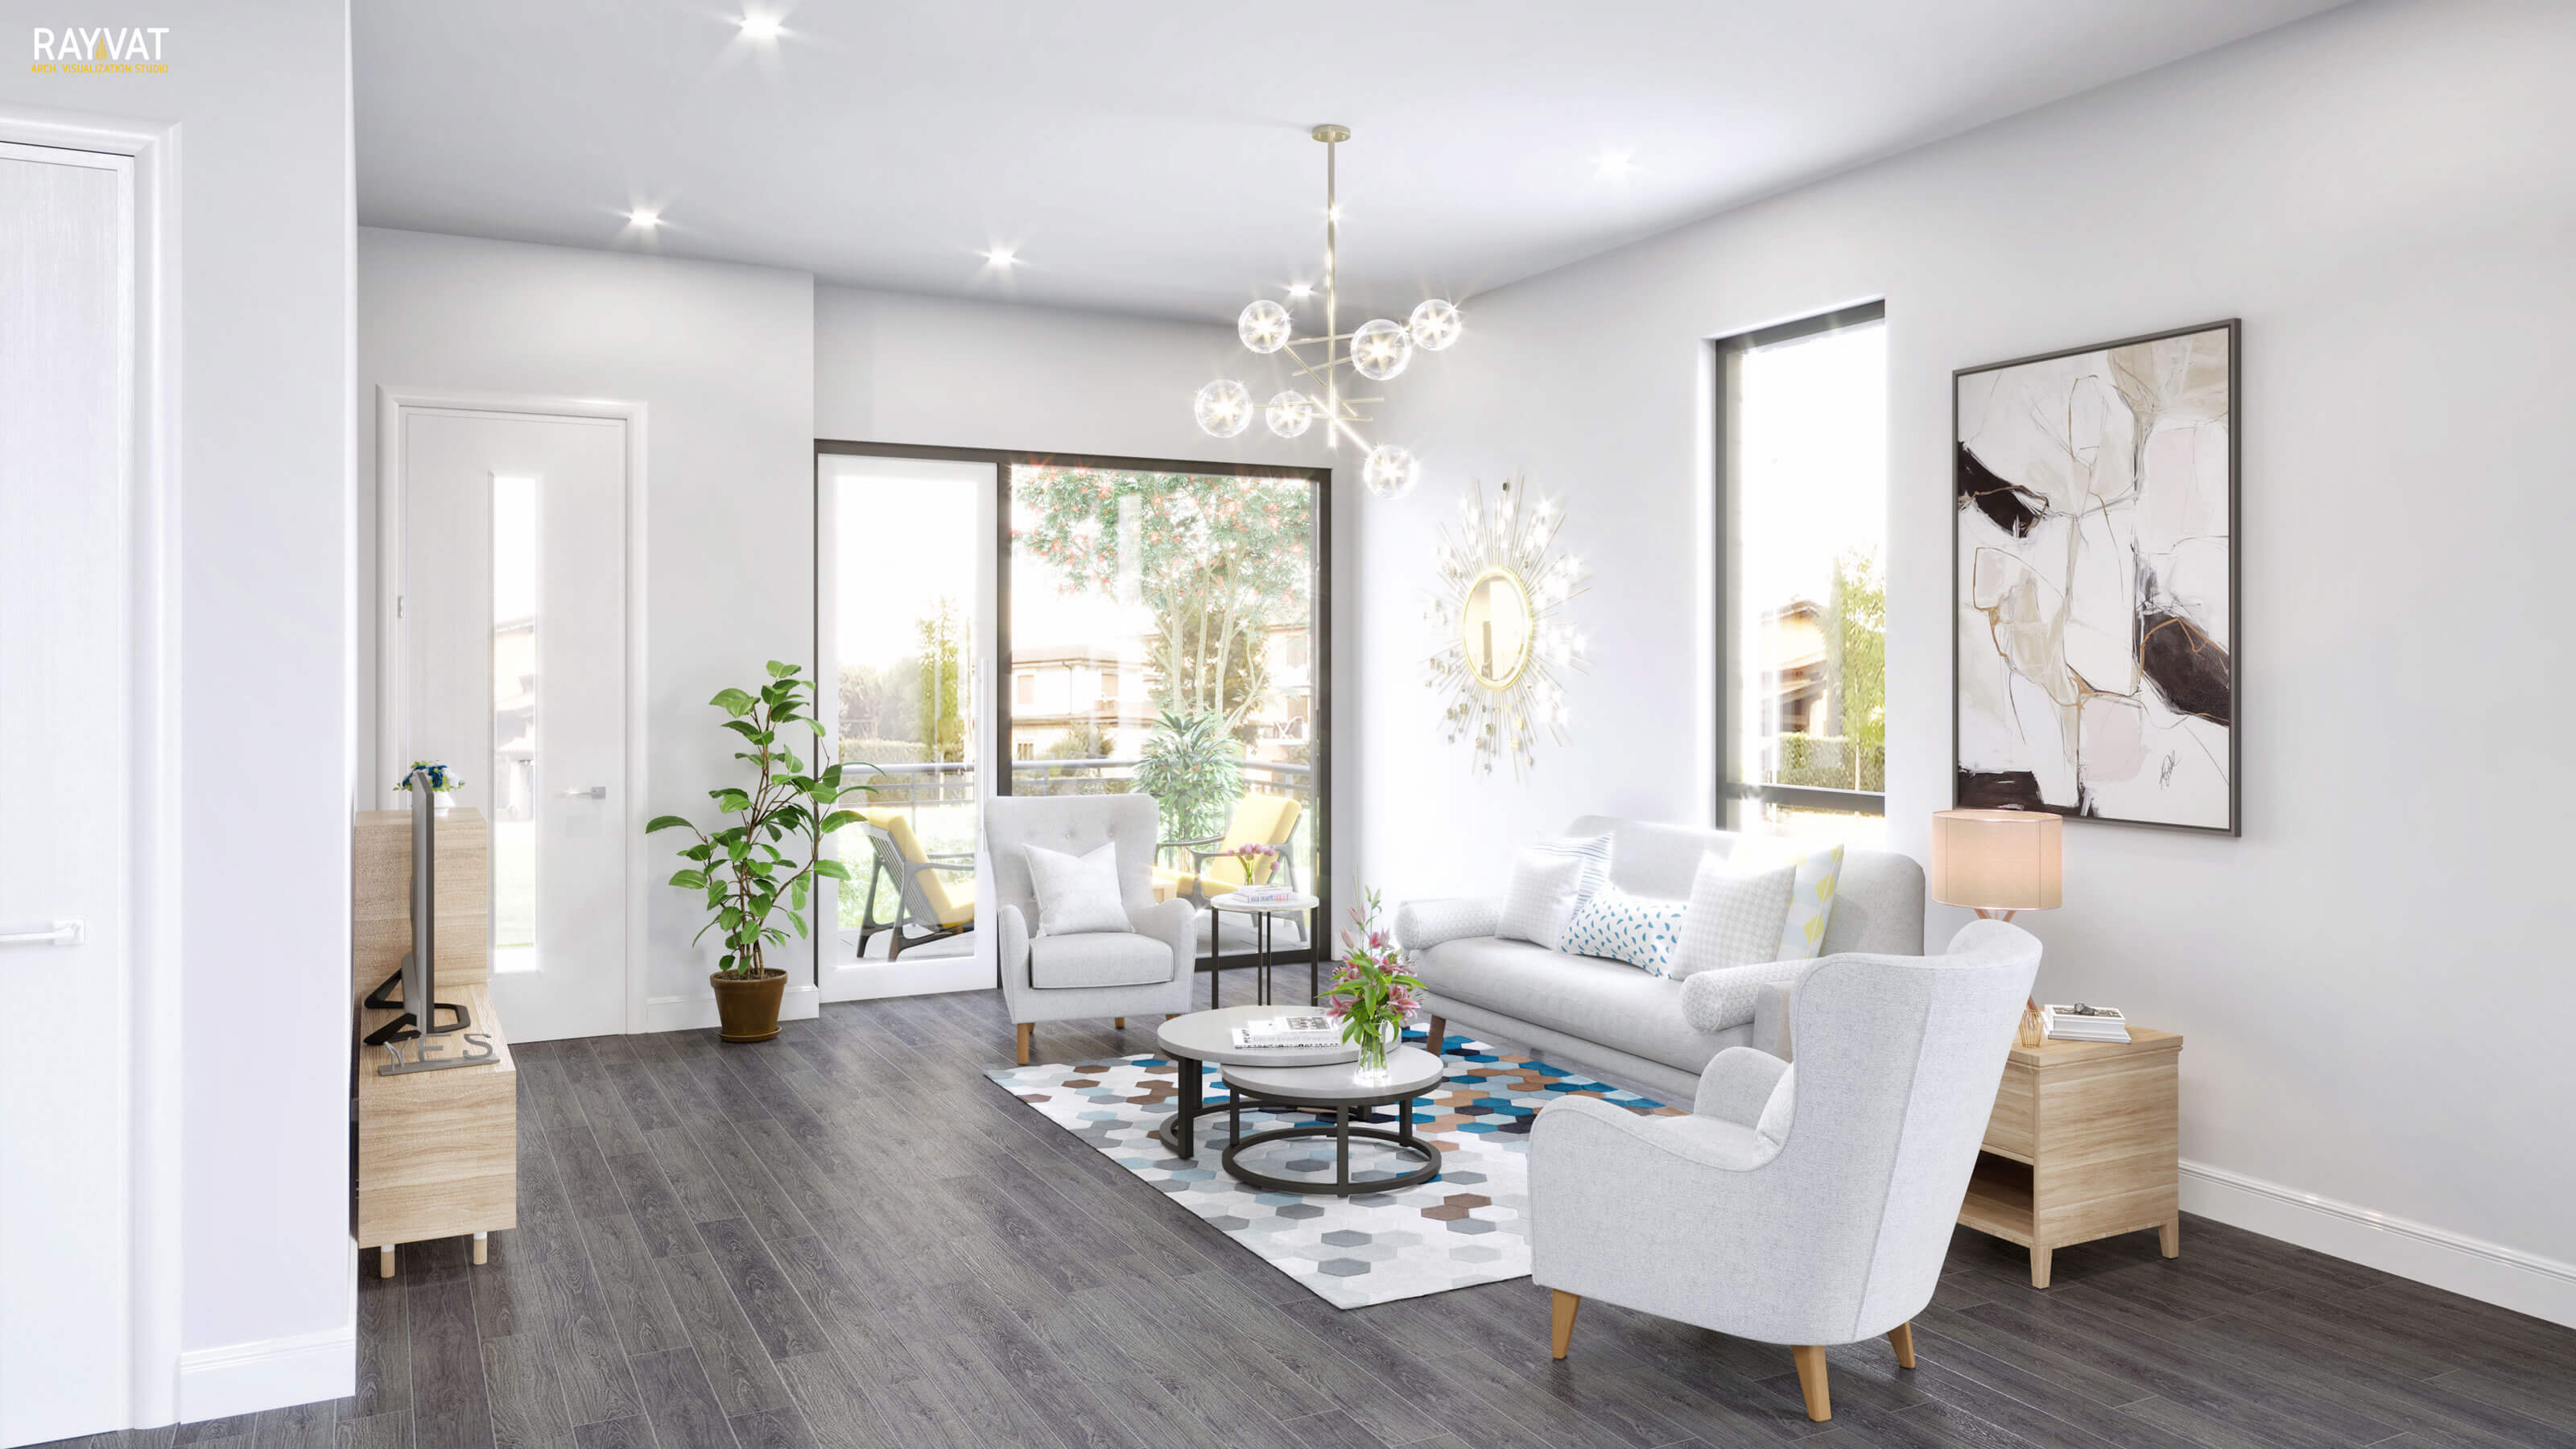
Interior Renders – An interior render shows what the interior of the building looks like. The render can focus on one room, or show a view that captures several areas like a lobby, passages leading out from the lobby, and doorways.
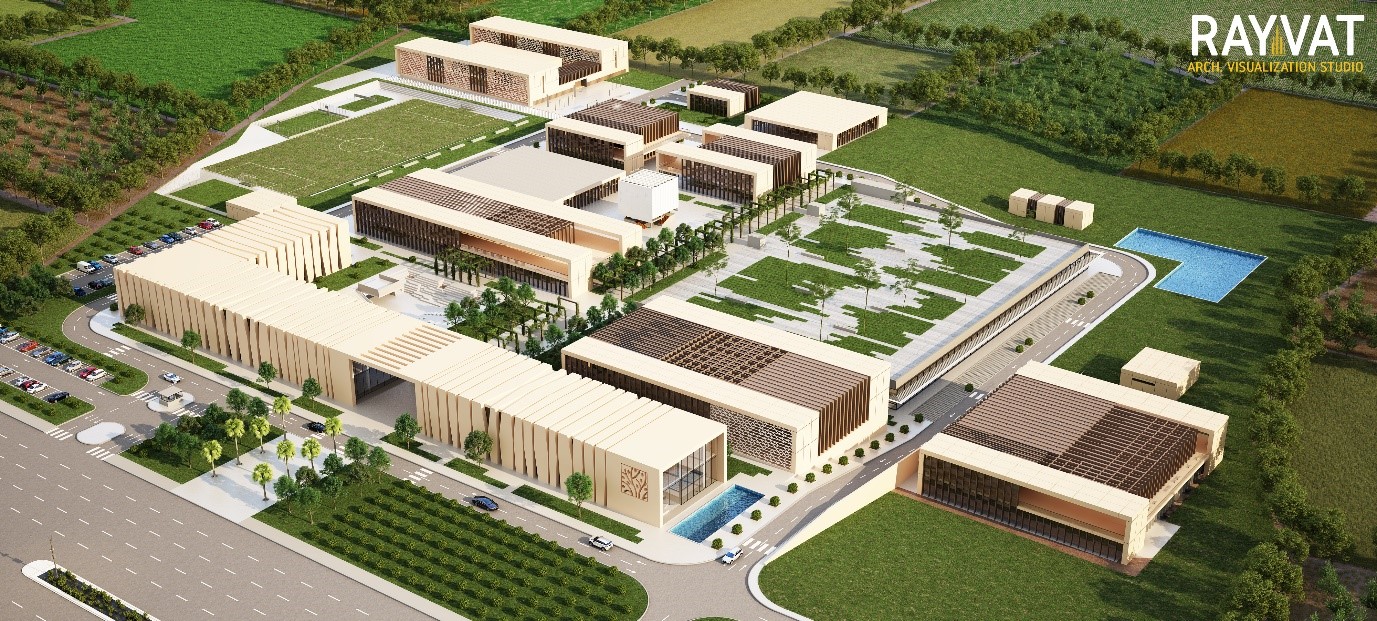
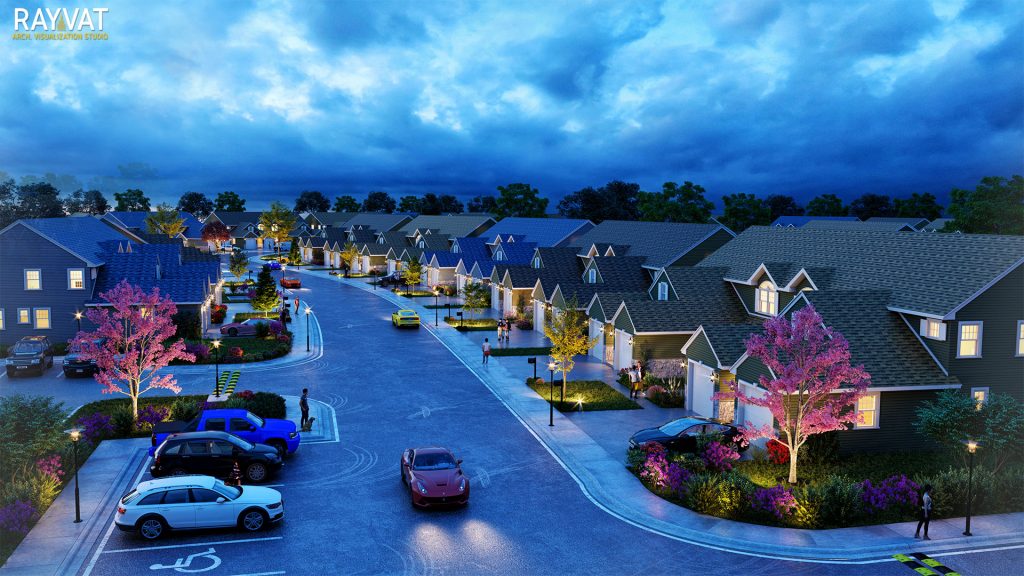
Aerial Renders – A 3D Aerial Rendering provides a view from above, and usually shows the surrounding environment as well as the building. This gives a good idea of how the building fits in with the neighborhood.
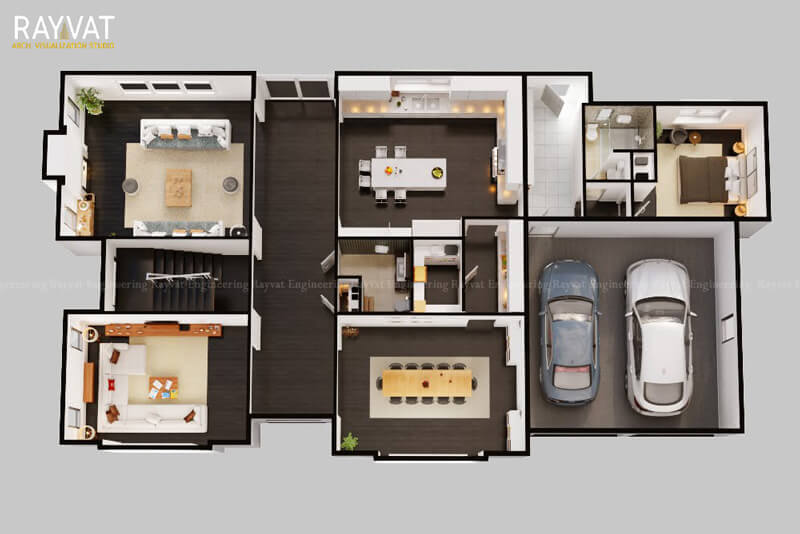
Floor Plans – A 3D Floor Plan rendering adds depth and perspective to a traditional 2D plan. It allows potential home buyers to visualize the space very clearly, and get a clear understanding of spatial relationships within the building and without.
What Typical Inputs are required?
To get started on your render, the 3D team will require some information from you. Here’s what they would need:
General Information
- Number of Renders Required
- Time of Day (Daylight, Dusk)
- Type of Environment (Cloudy, Spring)
- Location and angle of the camera
For Exteriors
- Site Map
- Area Development Plan
- Landscaping Plan
- Building Layout
- Front, Rear and Side Elevations
- Schedule of Materials, Finishes, and Textures
For Interiors
- Schedule of Materials, Finishes, and Textures
- Floor Plans
- Interior Elevations
- Furniture and Decor element placement and details
How it Works

Stage – 1: Get started
Introduction
A conference call will be arranged at your convenience, and you are requested to get as many stakeholders as possible in on the call, so your requirements could be discussed clearly.
Here’s what will be spoken about:
- The hierarchy of stakeholders and decision-makers
- The deliverables
- A brief of the data inputs
- The Process Flow and various stages
Note* – Right at the start, you are requested to be prepared with at least 90% of your inputs in as much detail as possible. This is the most crucial stage, and it’s important that any future deviations from these inputs should be minimized, in order to enable a smooth execution flow in subsequent stages.
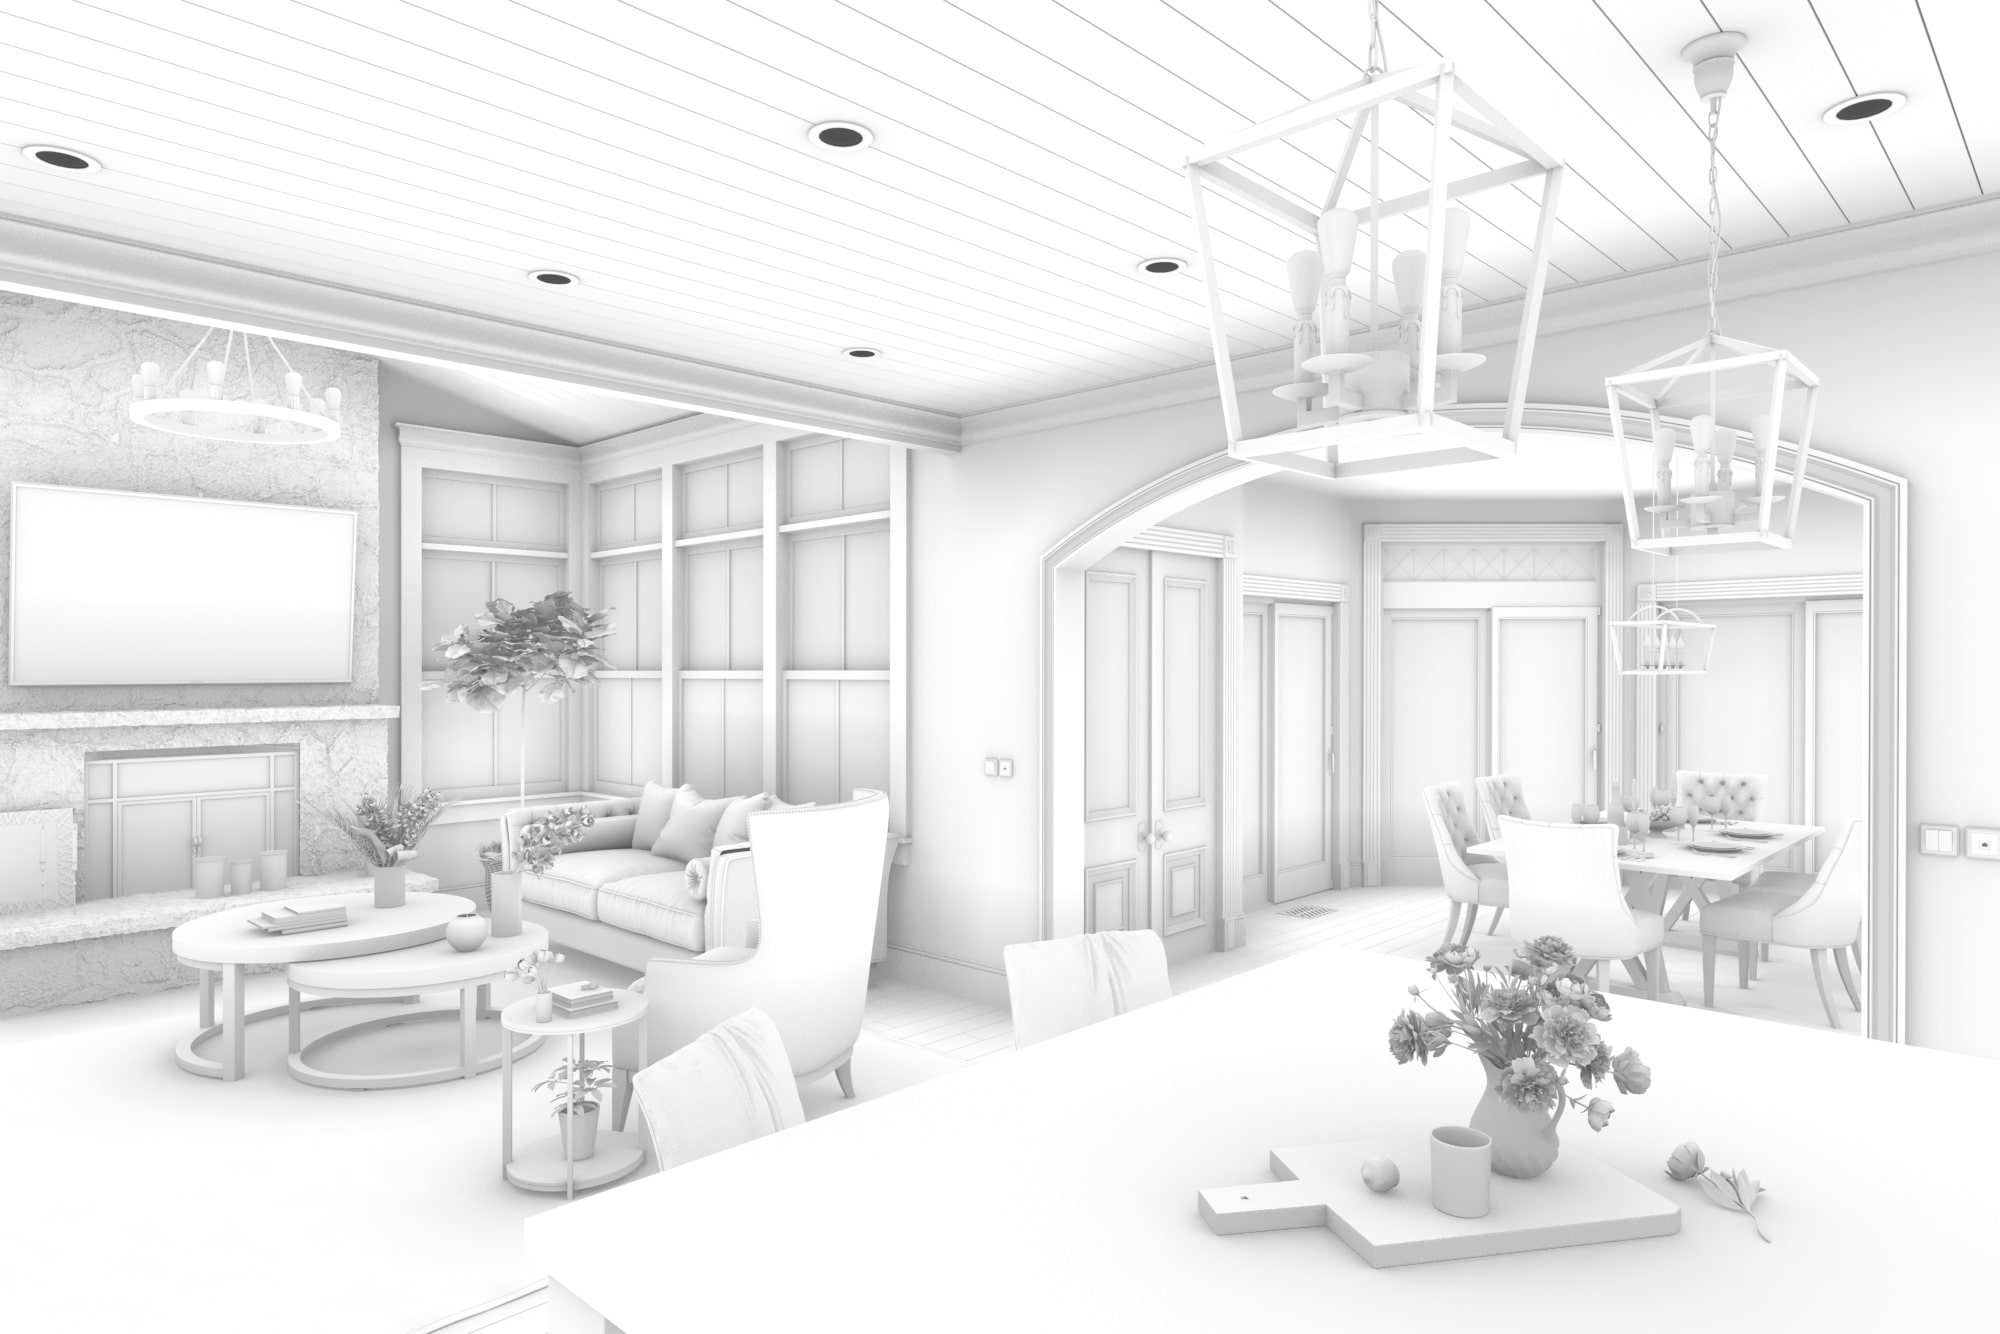
Stage – 2: Modeling and Artistic Brief
The stage of 2D to 3D Modeling takes an average of 3-4 business days, and complex projects will take longer. Do provide input details in as much detail as possible.
At the end of this stage, the 3D Models would be shared either as snapshots from multiple angles or the model itself. You will be required to check and approve the architectural details that are depicted. Next, the creative details will be discussed.
Creative Brief: On approval of the 3D Model, details like camera angles, lighting conditions/time of day, furniture, and décor style along with details of supporting entourage like shops, buildings, people, and so on are finalized.
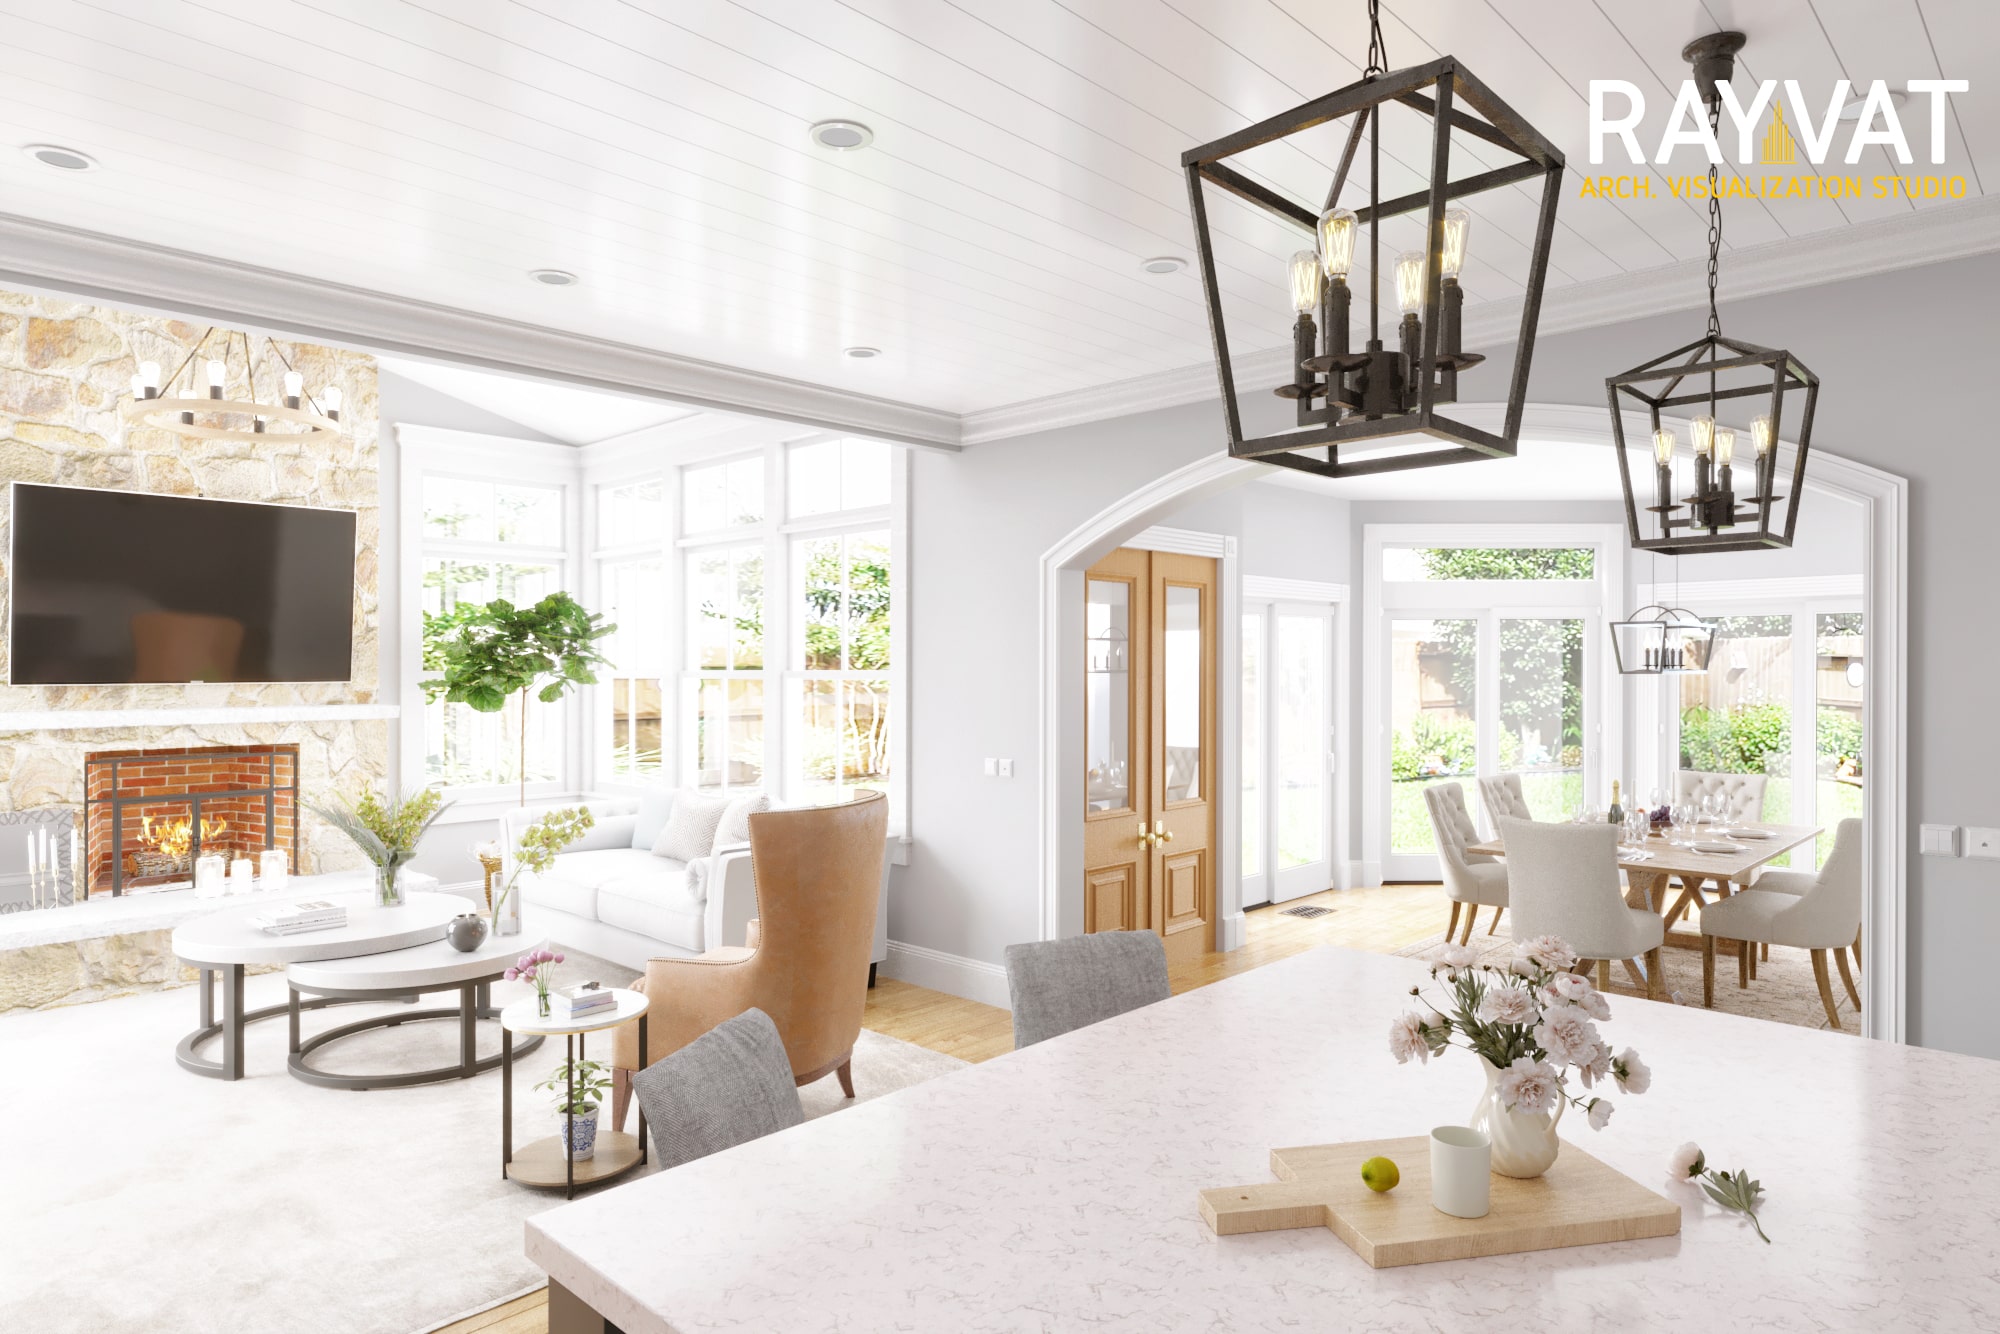
Stage – 3: The First Draft
The first draft of the image will be submitted for your review and feedback. Stakeholders including architects, developers, and the marketing agency should all provide reviews at this stage.
All the feedback will be collated and relayed back to the 2D or 3D team. Kindly use markup tools like Redpen IO or Lightshot for this purpose, so that the edits are very clearly conveyed.
Note* – Usually, until this stage revisions will be done free of cost. Subsequent revisions may incur additional charges, and can also impact timelines, so you should be as thorough as possible at this stage.
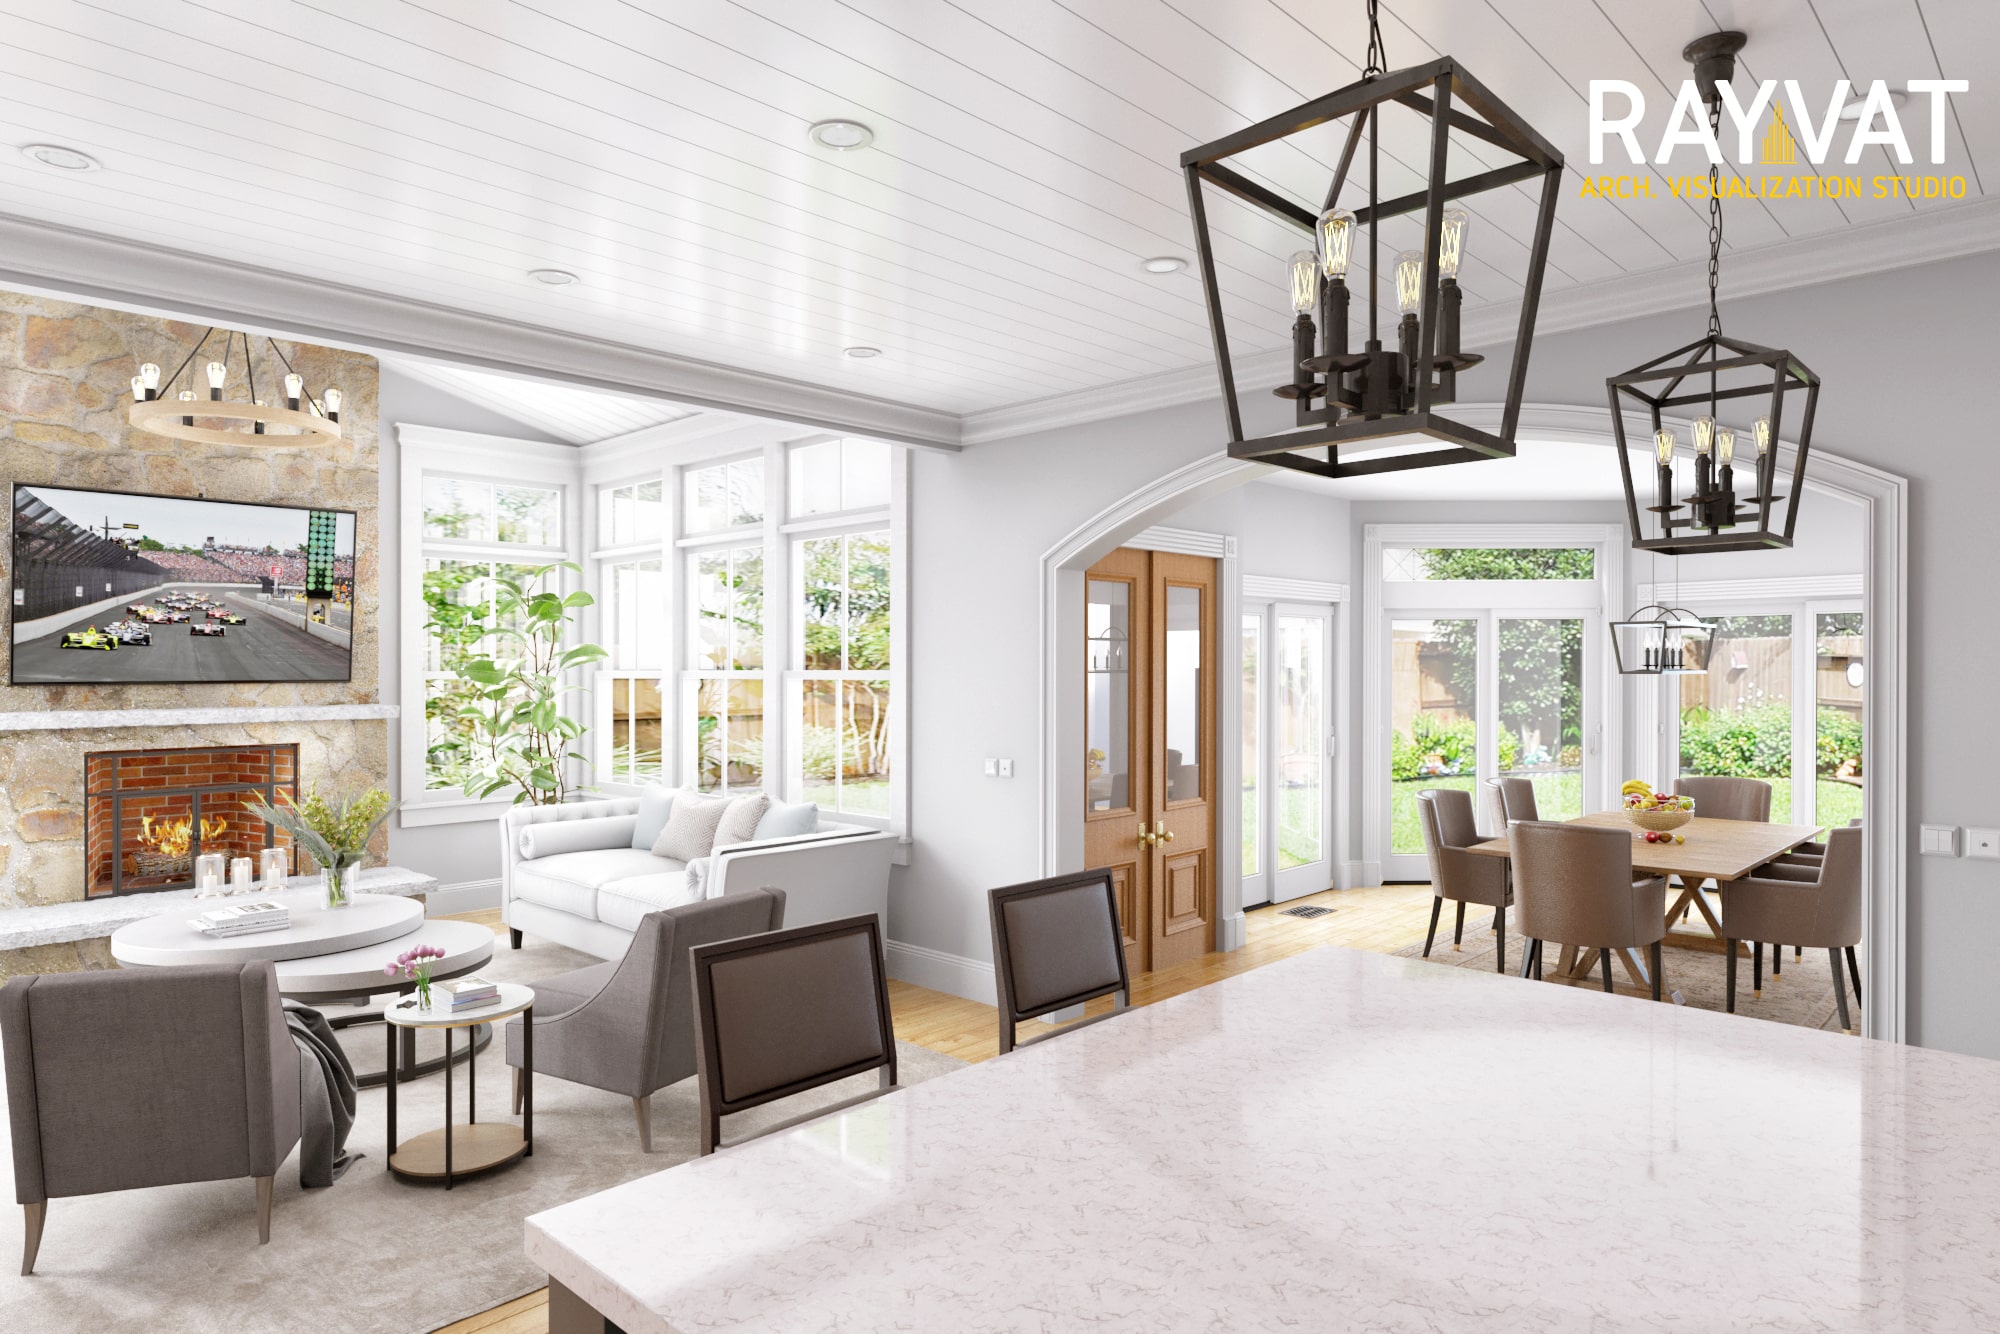
Stage – 4: Second Draft
The inputs received as markups in the first review will be implemented in the second draft. A second review and comments/markups will be undertaken, and having all the requisite stakeholders in the discussion is encouraged.
Note* – A time period of 24-48 hours is required to amend the renders and revert with updated renders. Any changes henceforth will usually add to the finishing time as well as incur additional charges.
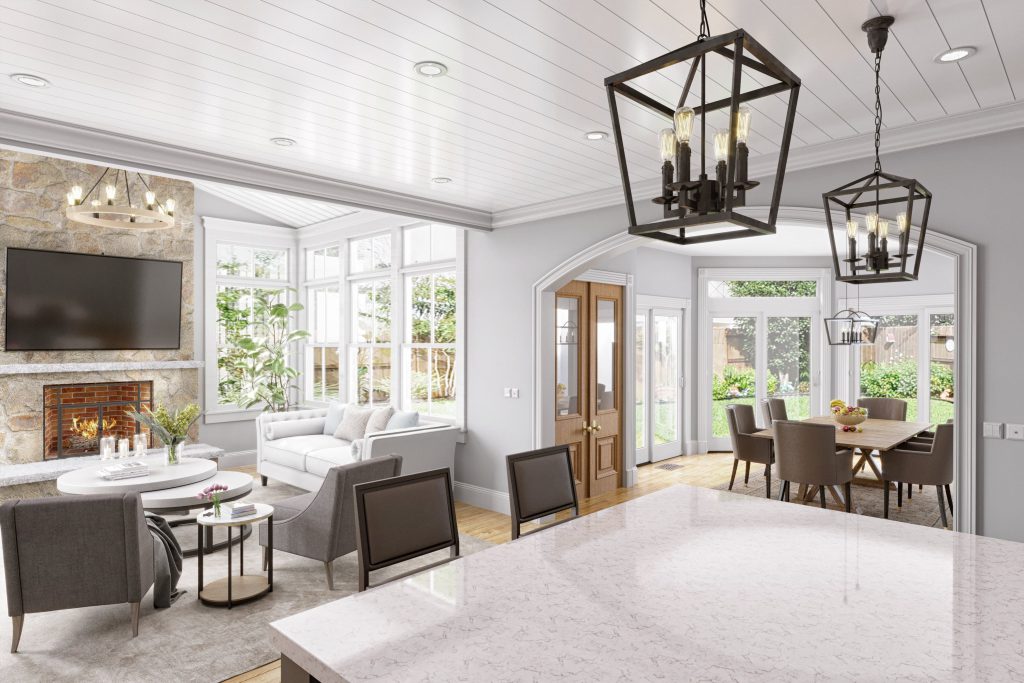
Stage – 5: Final Delivery
Low-resolution images will be submitted for final approval, and you will be required to check that all the inputs and details are incorporated into the render.
On your final approval, high-resolution images will be provided. The final deliverable in FULL HD 4K resolution, in the output format of your choice, will be delivered. You may go ahead and use this as required, for printing on banners or billboards, uploading to a website, or for creating brochures.
Software used for Architectural Renderings
In the past decade, 3D rendering software has evolved a great deal, and the rendering that used to be a slow and tedious process is now ultra-fast and easy to use. New software platforms have amazing capabilities that allow you to spend more time on what really counts-interacting with clients and thinking up beautiful designs and less time waiting for your image to render!
Today’s animations and 3D CGI images are created using popular 3D software that offers a plethora of features and tools. Many of them are completely free to use and distribute and have capable online communities where you can connect with other users and find solutions to any problems that you may face. Here are some of the top solutions available today.


Pricing Structure of Architectural 3D Renderings
Owing to detailed inputs, it is easy and smooth working with an organized client. Some of the pointers that can help lower the overall cost of executing renders are as follows:
- Providing all plans and reference images.
- Listing and labeling as much as possible in your plans, blueprints, or sketches.
- Specifying the camera locations and angles in the plans, blueprints, or sketches.
- Providing a complete schedule of material, texture, colors, and lighting aspects in the utmost detail.
- Choosing furniture, landscaping elements from our rich library of material. Please feel free to ask for it.
- Listing down the resolution of images needed for each category. E.g.- Exterior in 1280P resolution, Interior in 1080P resolution.
- Providing multiple reference images for the style that suits your need. Sometimes, seemingly simple elements like water ripples, glass façade are the most difficult to produce, thus impacting the cost.
Where to use 3D Renderings
3D renders can be used at every stage of the design and execution of a building project.
- At the initial stage: When the architect is sketching out the basic design concept, a 3D render will help to clearly communicate the ideas and thinking to the entire team.
- During the execution of the work: Construction teams can use the 3D rendering to clear all their doubts and execute the various details of the project correctly.
- For Realtors:
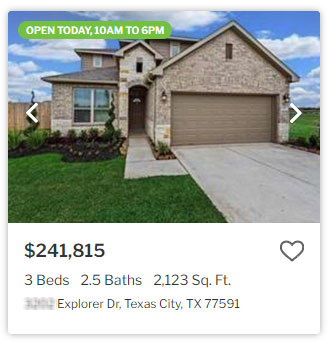
Open Houses: Examples here


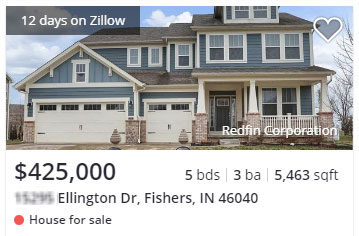
Listing of Properties: Examples here
